USB to CAN Firmware Flashing
Start Compilation
- A host computer with the
klipperservice installed Connect via SSH over network - And the device should be properly connected to the host computer
- Note: Please use a standard host computer, such as Raspberry Pi, FLY board, etc. If it is a modified host computer (e.g., WiFi dongle, Redmi devices), we cannot provide technical support due to numerous issues with such hosts
- Firmware Compilation Guide for Standard Host
- FAST System Firmware Compilation Guide
- Applies to standard host computers running systems like Raspberry Pi, FLY board, etc.
- Do not use the
ROOTuser for any operations on such hosts - Please perform operations using a regular user account
- To switch users, for the
FlyOS-Armbiansystem, please use the commandsu flyto switch to the regular user - For other systems, use the command
su <your host username>to switch to the regular user
su <your host username>
- Notes for the
FlyOS-FASTsystem- The default username for the
FAST systemisroot, and the password ismellow - Firmware compilation must be performed using the
rootuser - The
FAST systemonly has theROOTuser—you do not need to switch users!!!
- The default username for the
::: tip
- Please ensure that the host machine can connect to the network normally.
- Before compiling the firmware, use SSH to log in to the host machine via the network.
- Do not use a serial port tool to log in to the host machine.
:::
Klipper Firmware Compilation and Configuration Page Operation Instructions
::: tip
Please make sure that the keyboard input method is in half-width mode, i.e., English mode.
:::
- The key
↑(up arrow) and↓(down arrow) on the keyboard are used to move the cursor up and down to select menu items. - The confirm key
Enteror spacebarSpaceis used to check the menu or enter a sub-menu. - The exit key
ESCis used to return to the previous menu. - The
Qkey is used to exit the Klipper firmware configuration page. - When exiting the Klipper firmware configuration page and there is a prompt, press the
Ykey to save the configuration file.
::: warning
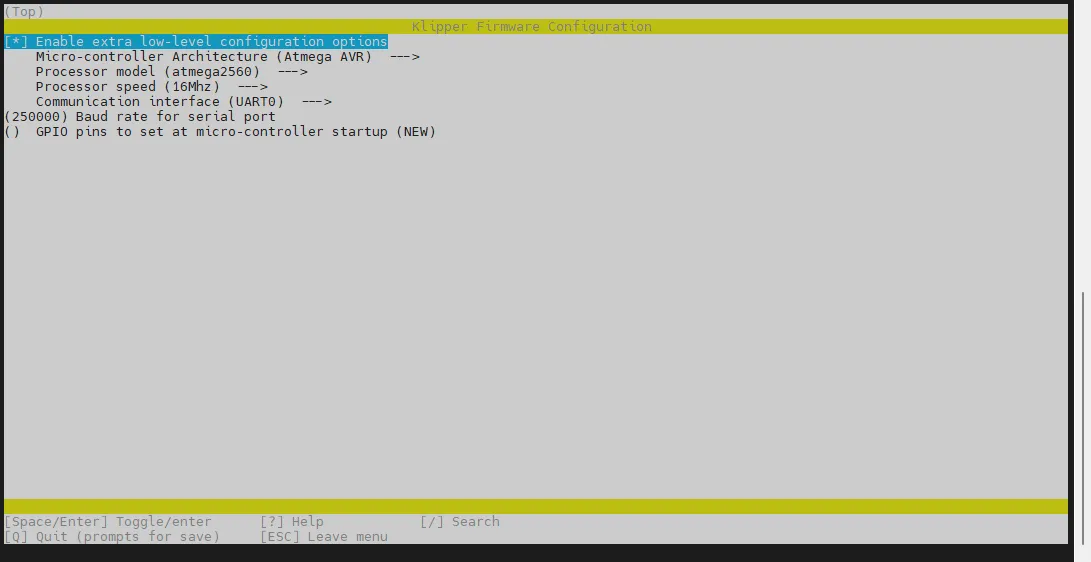
If there are fewer options in the configuration page, please first check [ ] Enable extra low-level configuration options to display some hidden options.
:::
Below is the introduction on how to compile the firmware:
-
After connecting to SSH, enter the following command and press Enter:
cd ~/klipper && rm -rf ~/klipper/.config && rm -rf ~/klipper/out && make menuconfig -
Where
rm -rf ~/klipper/.config && rm -rf ~/klipper/outis to delete previous compilation data and firmware,make menuconfigis to compile the firmware, after execution, the following interface should appear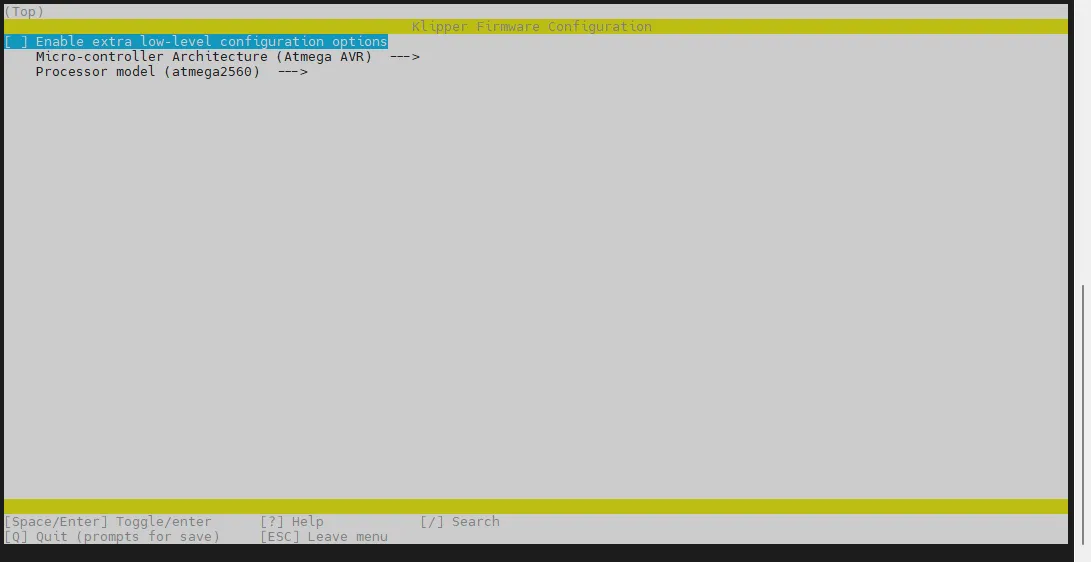
-
Select Enable extra low-level configuration options and press Enter
-
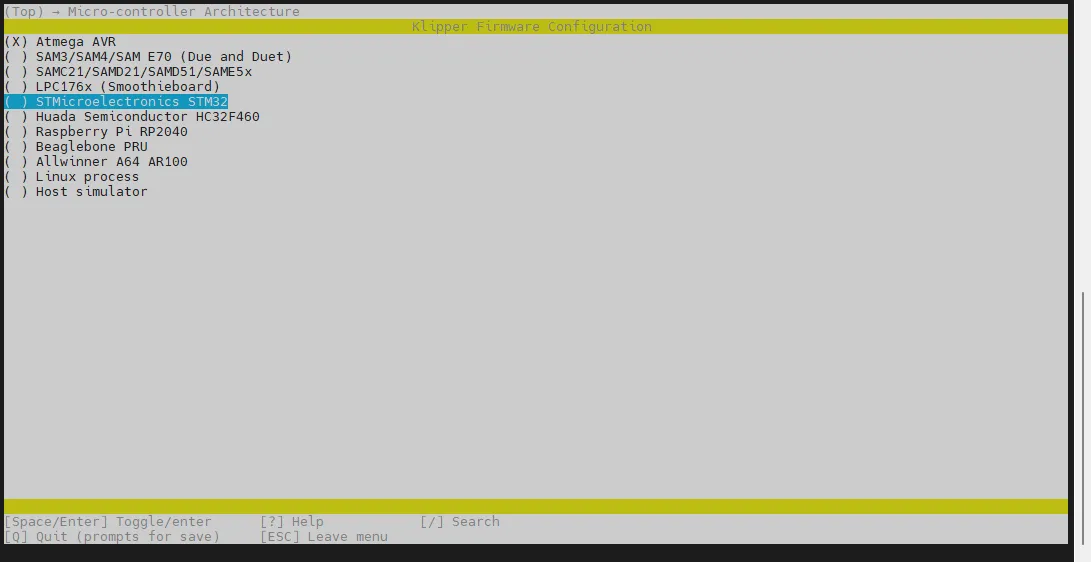
Enter the menu Micro-controller Architecture then select STMicroelectronics STM32 and press Enter
-
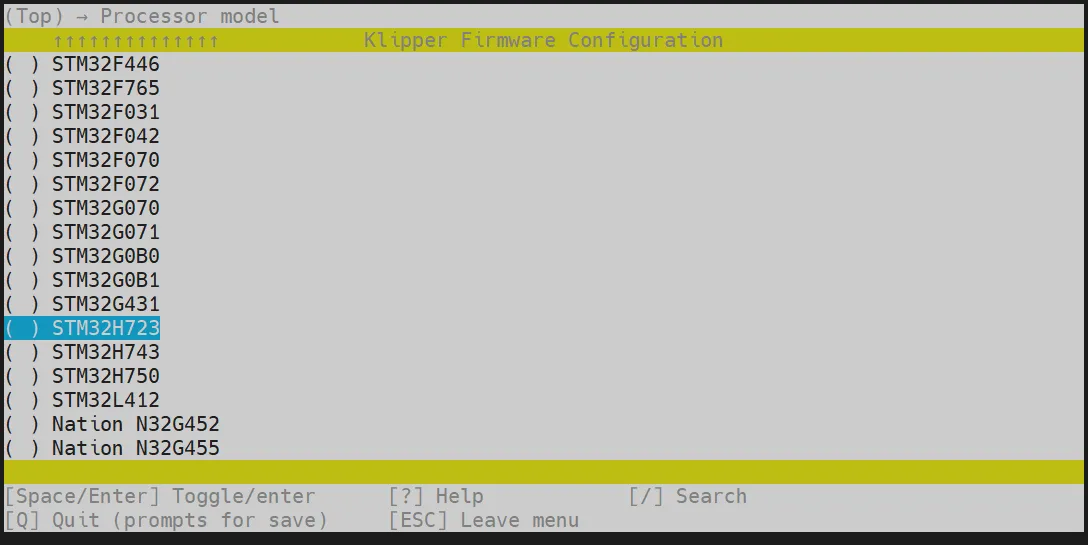
Enter the menu Processor model, select STM32H723 and press Enter
-
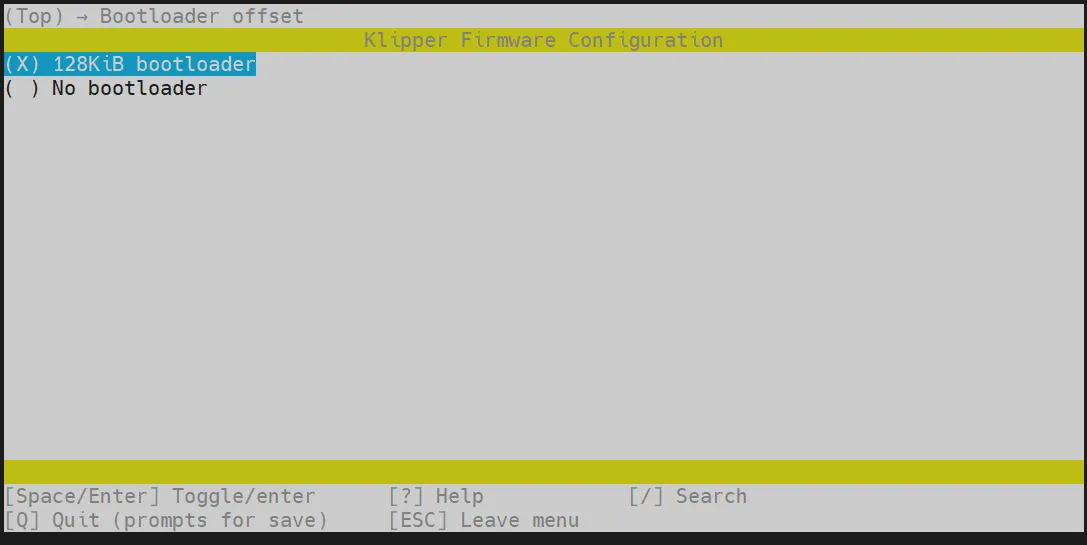
Select Bootloader offset, select: 128KiB bootloader
-
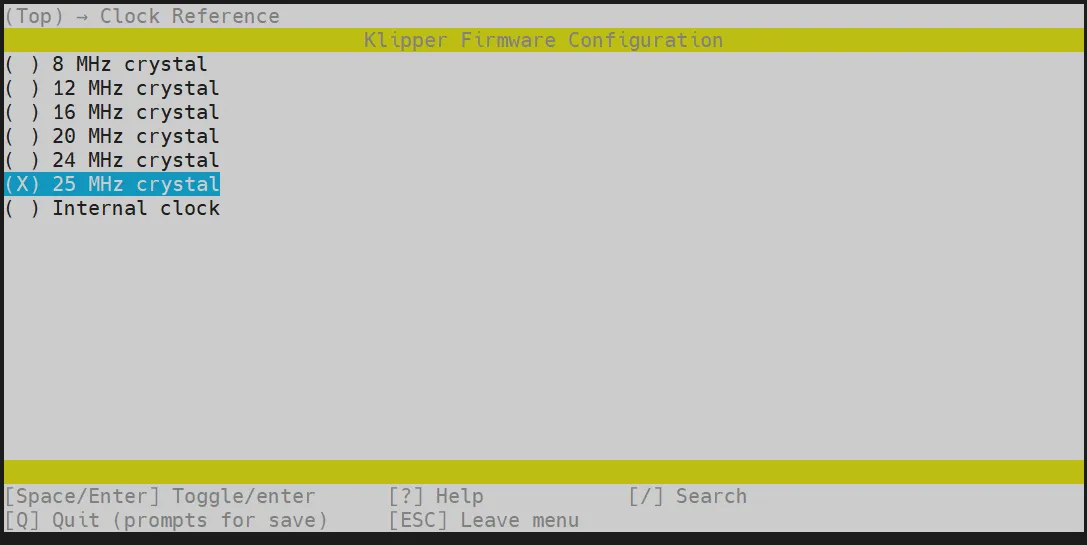
Select Clock Reference (8 MHz crystal), select: 25 MHz crystal
-
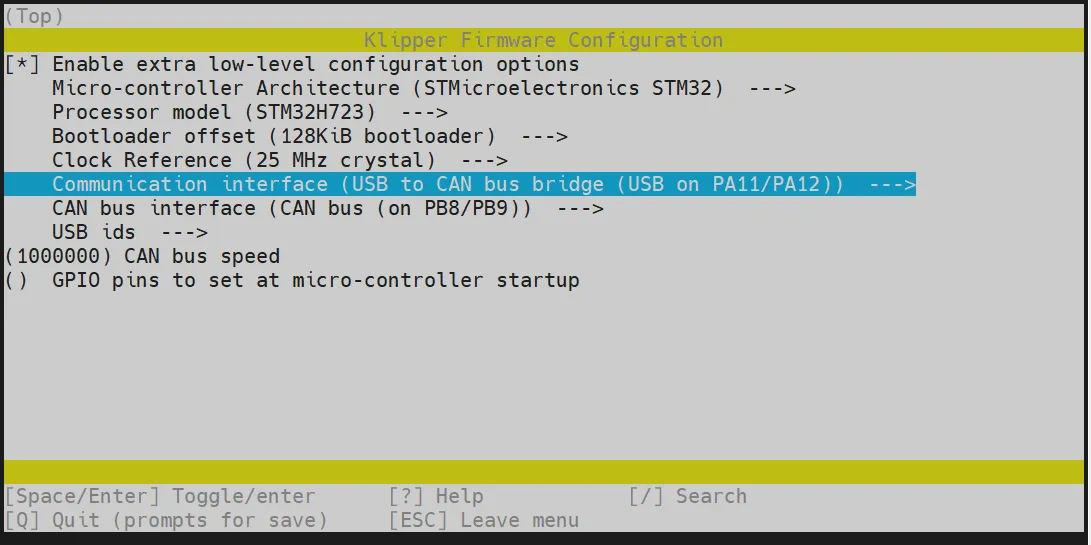
Select Communication interface, select: USB to CAN bus bridge (USB on PA11/PA12)
- Press the
Qkey, when Save configuration appears, press theYkey - The configuration should now be saved and you should have exited back to the command line interface
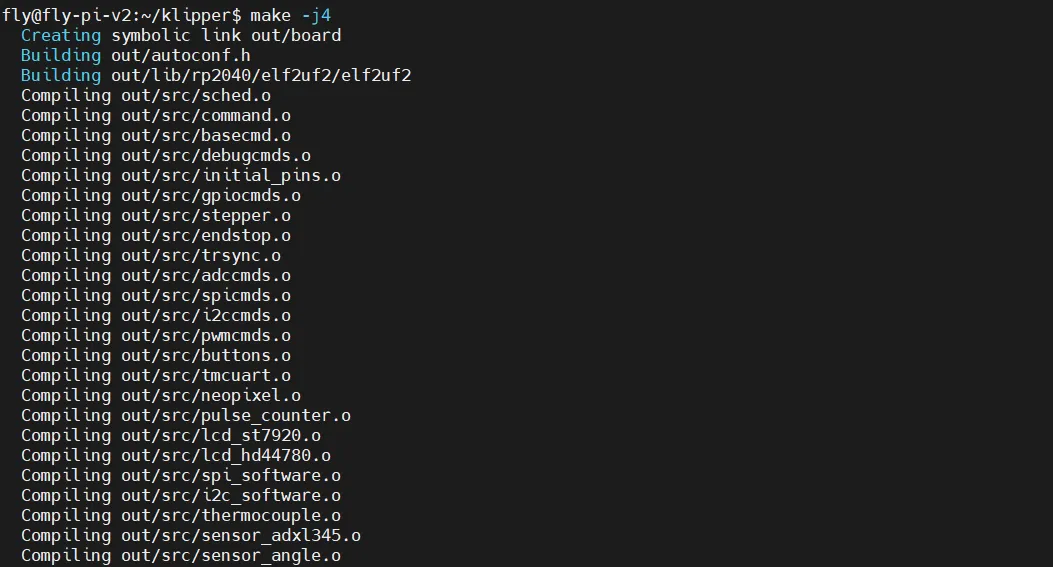
- Enter the command below to start compilation, which may take some time
make -j4
-
Compilation was successful if the following output is displayed
Linking out/klipper.elf
Creating bin file out/klipper.bin
Flashing the Firmware
Preparation
- Before starting the firmware burning, please use network connection SSH
- Counterfeit memory cards may cause the burning to fail, please try to use the recommended memory cards below to update the firmware
- Prepare a TF card with a capacity not exceeding
32G, and it is recommended that the transfer speed of the TF card must beclass10or higher, it is recommended to use brands such as SanDisk
Download Firmware
-
Use the TF card you prepared earlier
-
Format with
SDFormatter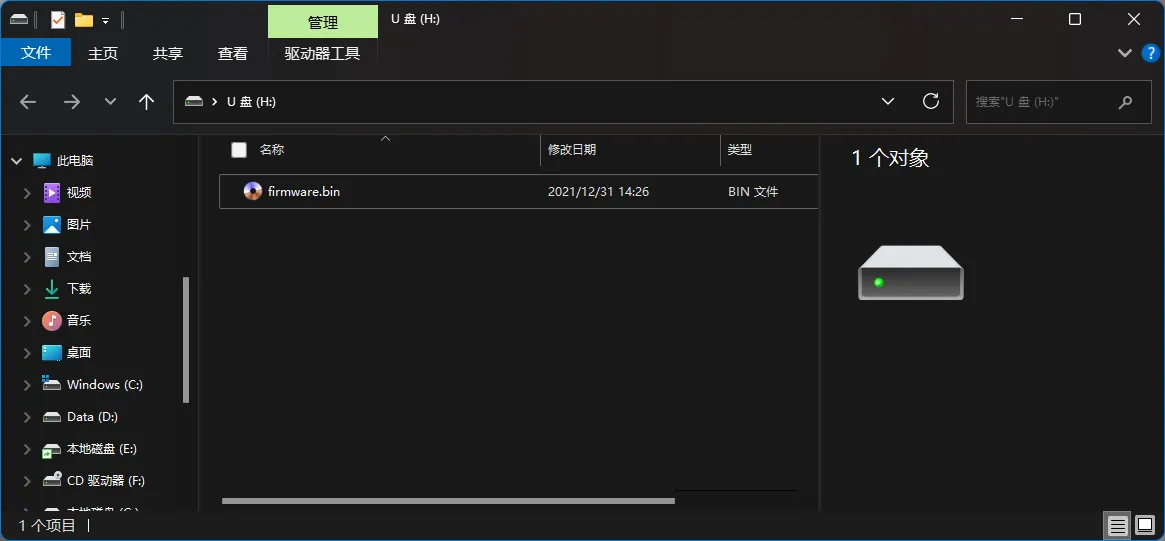
-
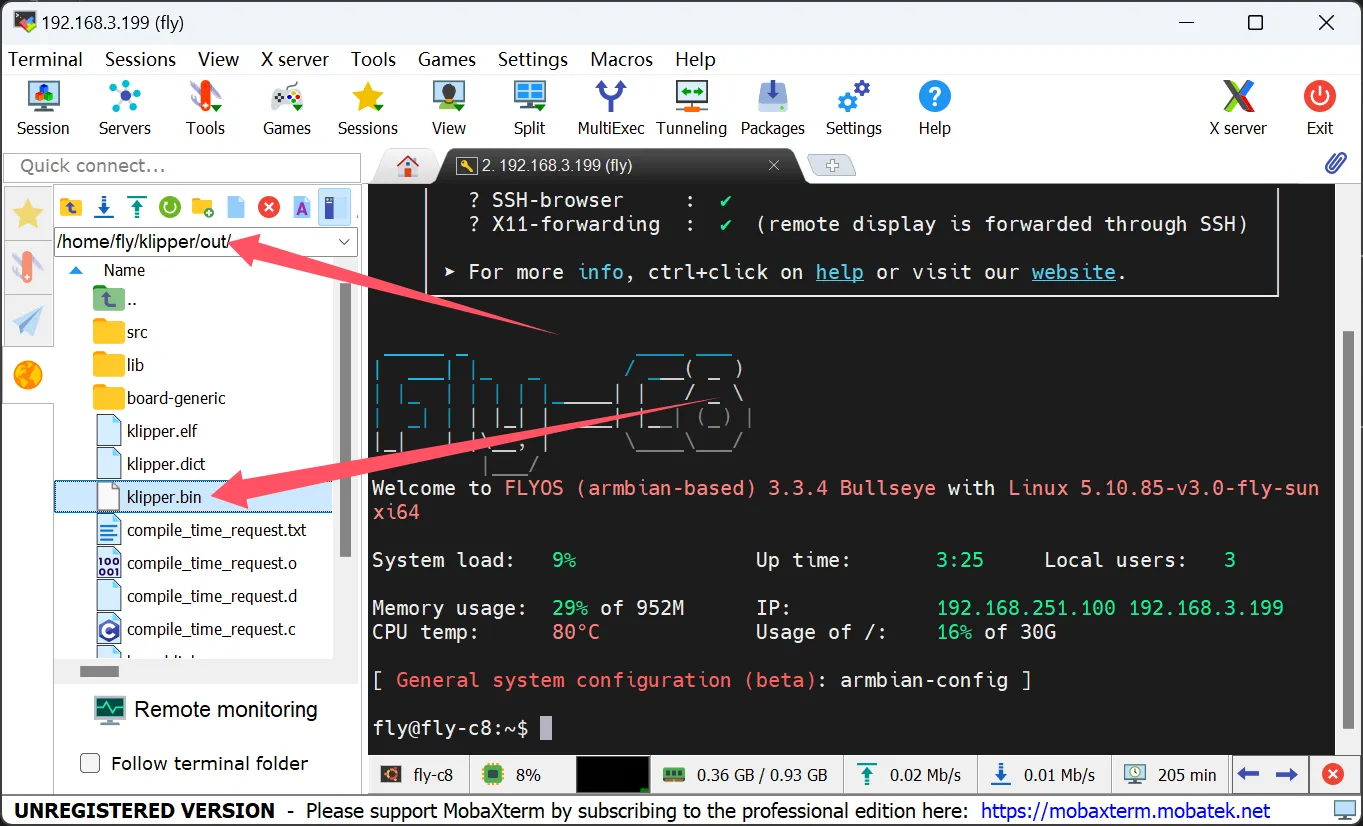
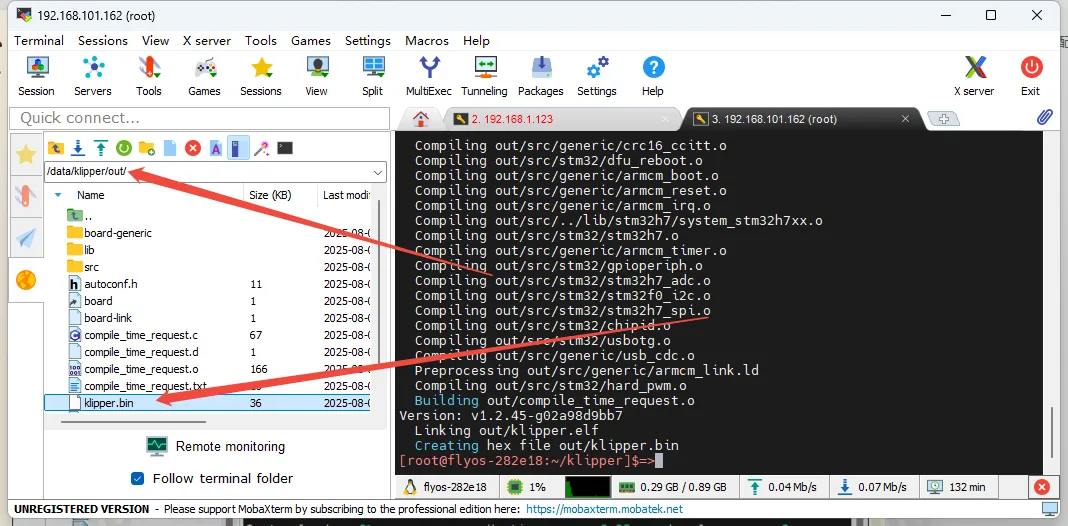
Use MobaXterm_Personal to find the left file directory, find
klipper, then findoutto open- FlyOS-Armbian system and general system firmware download directory
- FlyOS-FAST system firmware download directory
warning- Notes for
FlyOS-Armbiansystem and general system- Ordinary host systems such as Raspberry Pi, FLY Pi, etc., are viewed in this category
- The compiled firmware is in the
/home/<your host computer username>/klipper/out/directory
warning- Notes for
FlyOS-FASTsystem- Firmware directory for
FAST system - The compiled firmware is in the
/data/klipper/out/directory
- Firmware directory for
-
And download
klipper.binto the TF card, and rename it tofirmware.bin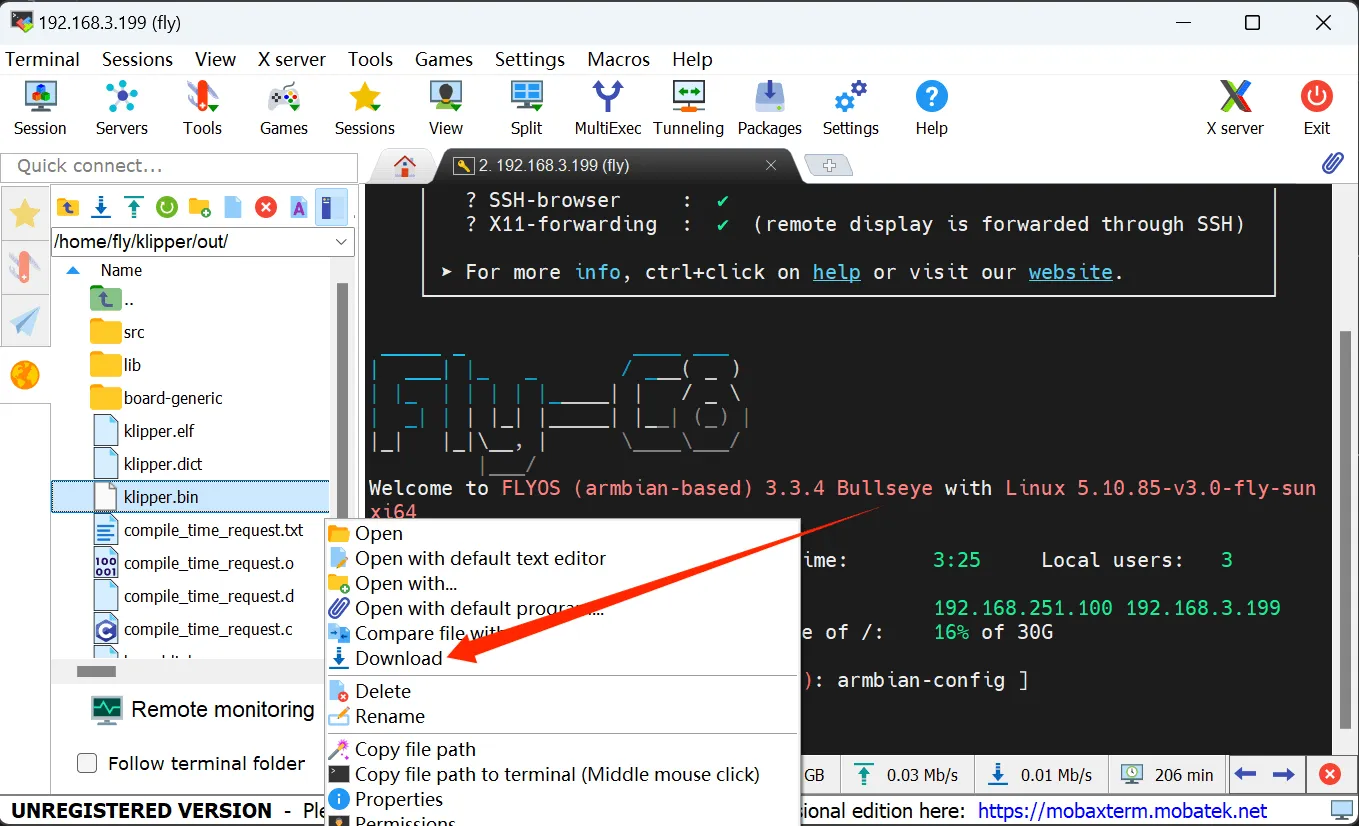
-
Power off the mainboard, insert the TF card into the mainboard
-
On the mainboard, wait for 10 seconds
-
Remove the TF card and insert it into the computer, if the
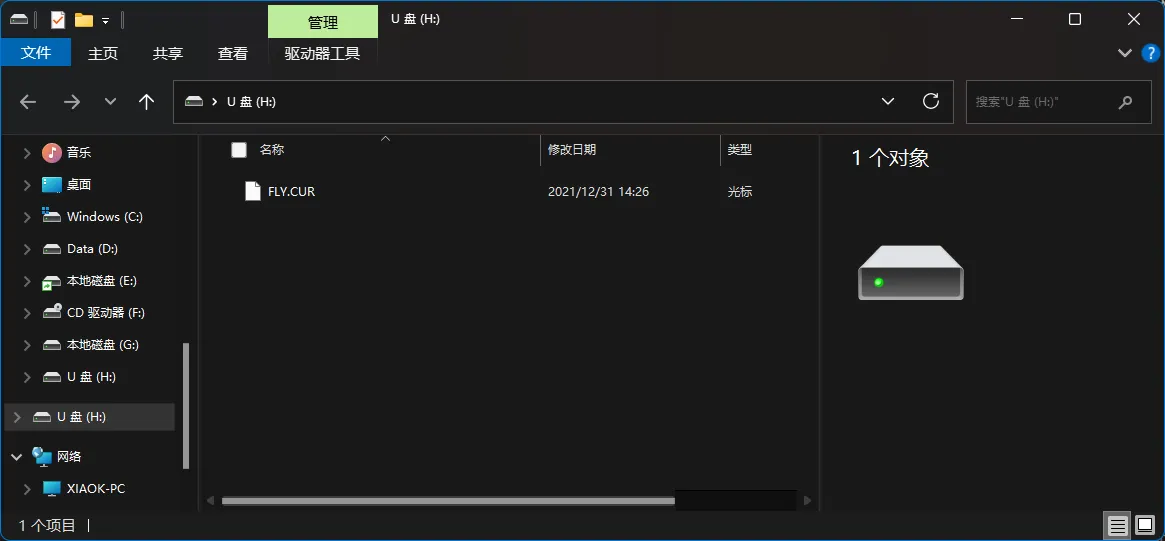
firmware.binin the SD card disappears andFLY.CURappears, it means the burning is successful